What is Google Sketchup? Well, it’s a free program by Google that allows you to draw in three dimensions planes. I will be showing how I make things on Google Sketchup in a step by step tutorial. If you want to try following along I highly recommend downloading Google Sketchup now. It’s also important to note that although I try to build my creations to an accurate scale, they are very far from being even remotely precise. This guide will not include any interior designing. This will be a very simply and basic tutorial on how to do the exterior. Google Sketchup does come out with different versions every now and again but all of the same tools and functions still apply. I will be using Google Sketchup 8. Now then, let us begin.
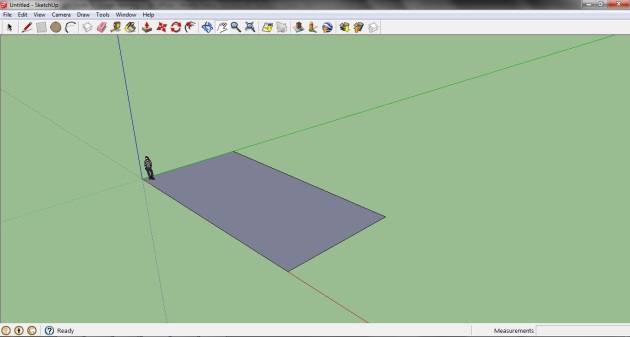
After downloading the program, you should be able to simply open it up and get to the screen above. If you have gotten to this point then you have completed Step 1. Congratulations!
Now we need to go over the tools that will be used.
All of these tools are fairly simple to use and easy to utilize. The best way for me to explain how to use any of these tools would be to jump into the building of our house and demonstrate how to use them. Before we can build anything there is one more step that we need to do so on to step 3!!
(Step 3)
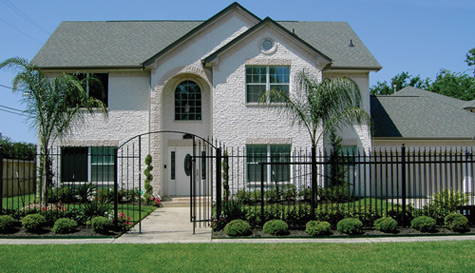
I always like to have some sort of reference that I can build off of. The house I want to build with you will be the one pictured above. Now, lets move to Google Sketchup and start building.
(STEP 4)
I always begin my house building by creating a blue print of the house. If you look at the picture, you will notice that the largest part of the base of the house is a giant rectangle. Use the zoom tool in Google Sketchup too zoom out some so that the person in Google sketch up is about a half-inch on your screen. Using the rectangle tool that I mentioned above, I create a rectangle to an approximate size as the one in the picture. Click on the origin (The point where all the axis lines meet) and drag out your rectangle that will be used as the base for the house. I use the person that Google Sketchup starts with as a size reference. NOTE: This is a good time to experiment with the rotate camera and drag camera tools that I mentioned earlier. Viewing this in the right perspective when building in Google Sketchup is very important.
If you make a mistake don’t worry. You can use the select tool to choose the parts that you want to delete by selecting them and then hitting the delete key on your keyboard. You can also use the erase tool on Google Sketchup. The way that I most commonly get rid of mistakes is by hitting “Ctrl D”. This undoes the last thing you did on Google Skecthup. If you go too many steps back you can go back forwards by hitting “Ctrl Y”
(STEP 5)
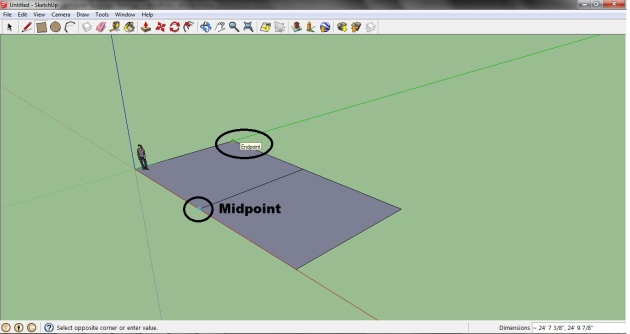
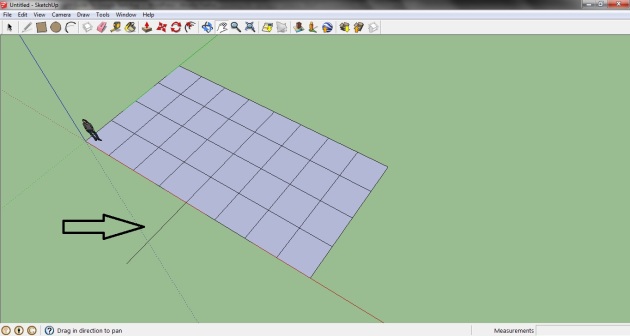
In order to maintain symmetry and order in my buildings, I make grids onto my base. Using the rectangle tool you can select the middle point of the long side of the perimeter and drag it a corner of your base. After doing so, you should have an equal divide in your base and look like the picture below.
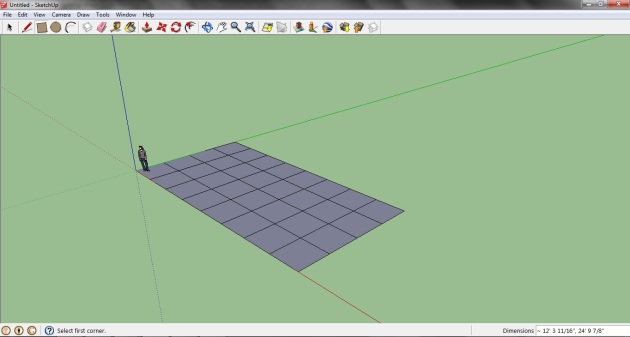
Continue the process of diving your base a couple more time until you have something similar to the picture below.
(STEP 6)
Obviously, the base of the house we choose is more than just a rectangle. In front of the base we made, we have a decorative arch and a room arch. I like to start with the component that is largest first. In this case, it would be the room that is furthest protruded forward. Using the line tool, draw a line that extends from the center of the base outwards until it is approximation the same length of the room that is in-front of the house. After you have drawn your line, you can hit escape on your keyboard to let Google Sketchup know that you are done drawing your line. Below is an example of the line I drew.
(STEP 7)
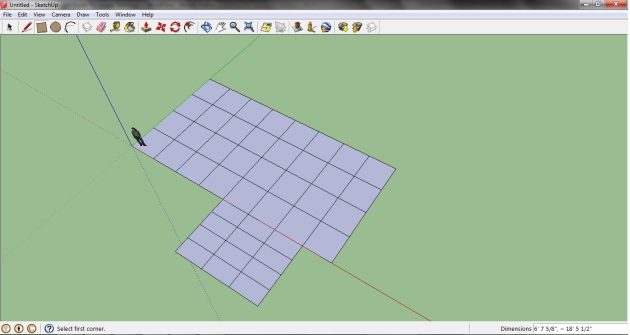
Now start a square at the end of the line you just drew away from your base and attach it to the end of the second box from your right. After you have done this, create a grid using the rectangle tool as you did for the base. See the picture below as a reference.
(STEP 8)
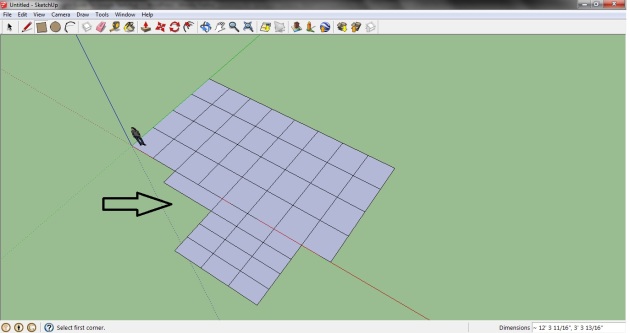
To create the arch that is in the picture, we will create a small base for it besides the room up-front. Create a small box that is like the one if have done below.
(STEP 9)
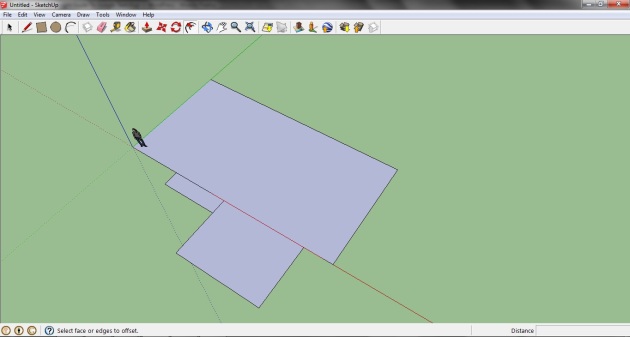
Very soon you will get to see your work pop-up from 2D to 3D. First you will need to erase all those grids that we have drawn with one exception. The one box to the side of the front room should be left alone. To do this, simply use the erase tool. What you should have should like like the picture below.
(STEP 10)
In this step, we get to build the walls of our house! Using the tool I mentioned earlier, the “Create A Secondary Perimeter Tool), select an part of the perimeter on the base of the house. This will allow you to make a secondary perimitter either inside/outside of the original. For the purpose our house, it needs to be smaller than the original. This will essentialy create all the exterior walls for our house. Try to size it according to the person in Google Skecthup. You do not want walls 3ft thick. See my picture below as a reference. 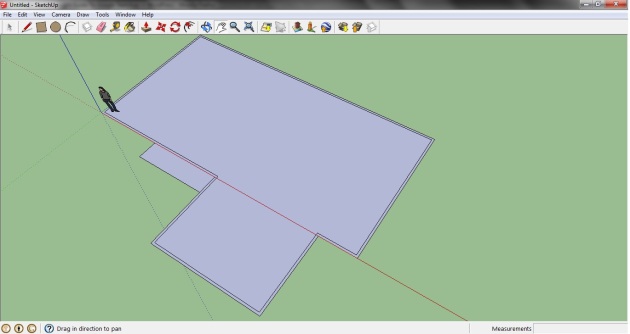
(STEP 11)
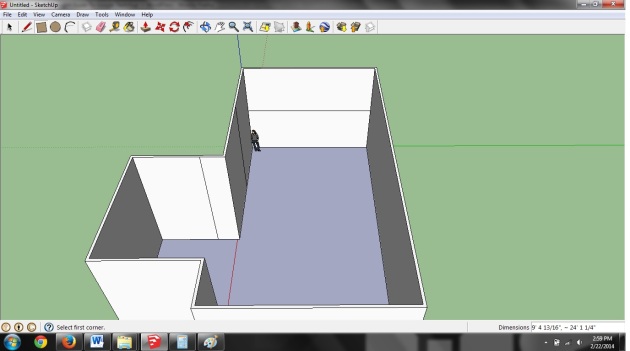
This step here is my favorite step because we finally get to move from our 2D blue print to something that is actually 3D. Using the “Push/Pull” tool that I showed earlier in the tool section, select a part of the space between the old perimeter and the new. This will allow you to pull our walls up from the 2D plane to the 3D!!!! Make sure again to reference the person in Google Sketchup. You want each story of the home to be approximately twice the height of the reference person in Sketchup. You don’t want walls that are 7ft high or 300ft high on a two story house. What you should have should match the picture below.
(STEP 12)
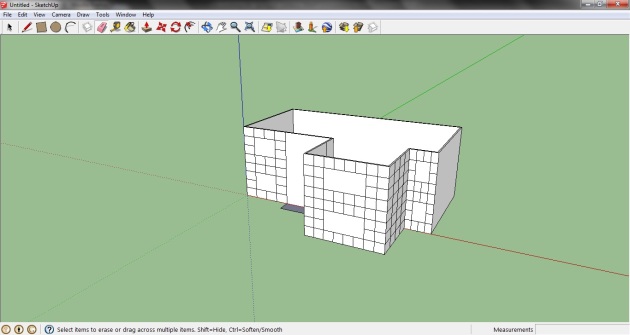
Now that our walls are finally up we need to begin thinking about doors and windows that will give our house the characteristics to make it recognizable. To do this though we need to grid the walls of our house in the same way we made a grid on our base. Only put the grid on the parts of the house you want to put windows and doors for now. It should come out something like my picture below.
(STEP 13)
Next we will use the delete tool to plot out where our windows will go. Often times, there will be some distortion between the picture we are trying to imitate and the house we are building. This is often a point where you can take some creative liberties by placing different types of windows onto your house. For example, the house that I have been building has a front room that is wider than the picture of the house we were using as a reference. Because of this I decided to add in larger windows. Below is a picture of the house I have built thus far.


